If your RV air conditioner is running but not cooling well, start by separating airflow problems from refrigeration or compressor problems.
Start with a few high-value checks rather than treating every AC problem like a full teardown. The temperature difference between return and supply air is the best first clue.
| Symptom | First checks |
|---|---|
| Airflow is weak | Filter, evaporator coil, duct restriction |
| Airflow is strong but not cold | Voltage, compressor, capacitor, sealed cooling system |
| AC cools, then freezes up | Filter, evaporator airflow, thermostat/thermistor |
| Fan runs but compressor does not start | Voltage, capacitor, relay/control, compressor |
| AC cools but cannot keep up | Heat load, dirty condenser, airflow, unit capacity |
A healthy rooftop RV AC usually produces a noticeable temperature drop between return and supply air after it has been running steadily. Use the manufacturer’s specification when available.
Safety first
RV rooftop air conditioners combine 120-volt AC power, capacitors that can hold a charge, moving fan blades, roof work, and a sealed refrigerant system.
Disconnect shore power and generator power before removing covers.
If testing requires energized 120-volt circuits, discharging/testing capacitors, opening the sealed refrigerant circuit, or working on an unsafe roof, use a qualified RV technician.
Measure the temperature split
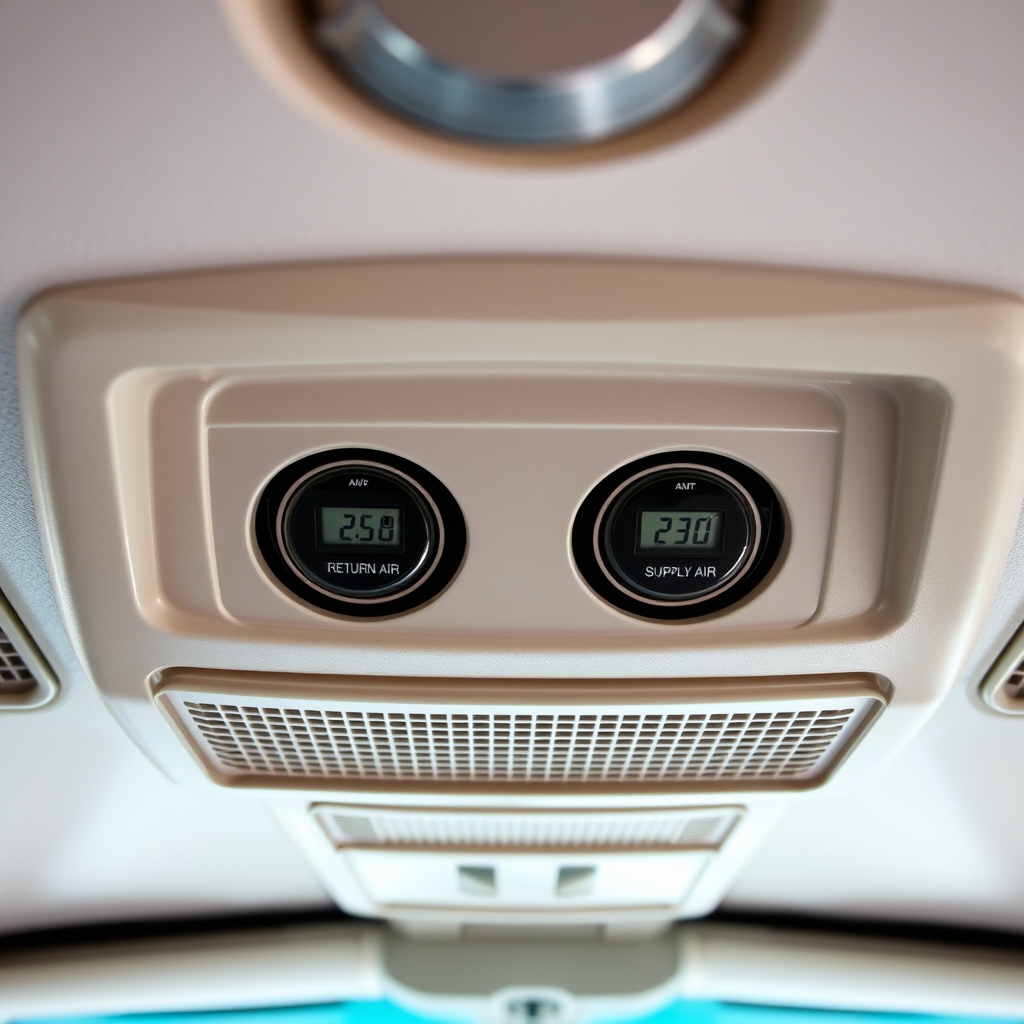
Run the AC on high cool for about 15 minutes.
Measure:
- Return-air temperature near the intake.
- Supply-air temperature at the closest discharge vent.
Subtract the supply temperature from the return temperature.
Many functioning rooftop units show a drop somewhere around the mid-to-high teens or low 20s Fahrenheit under normal conditions, but ambient temperature, humidity, airflow, and model design affect the result.
The important point is this:
- Good temperature drop + RV still hot: the AC may be working, but heat load or capacity is the problem.
- Small temperature drop: continue troubleshooting the AC system.
Clean the return-air filter
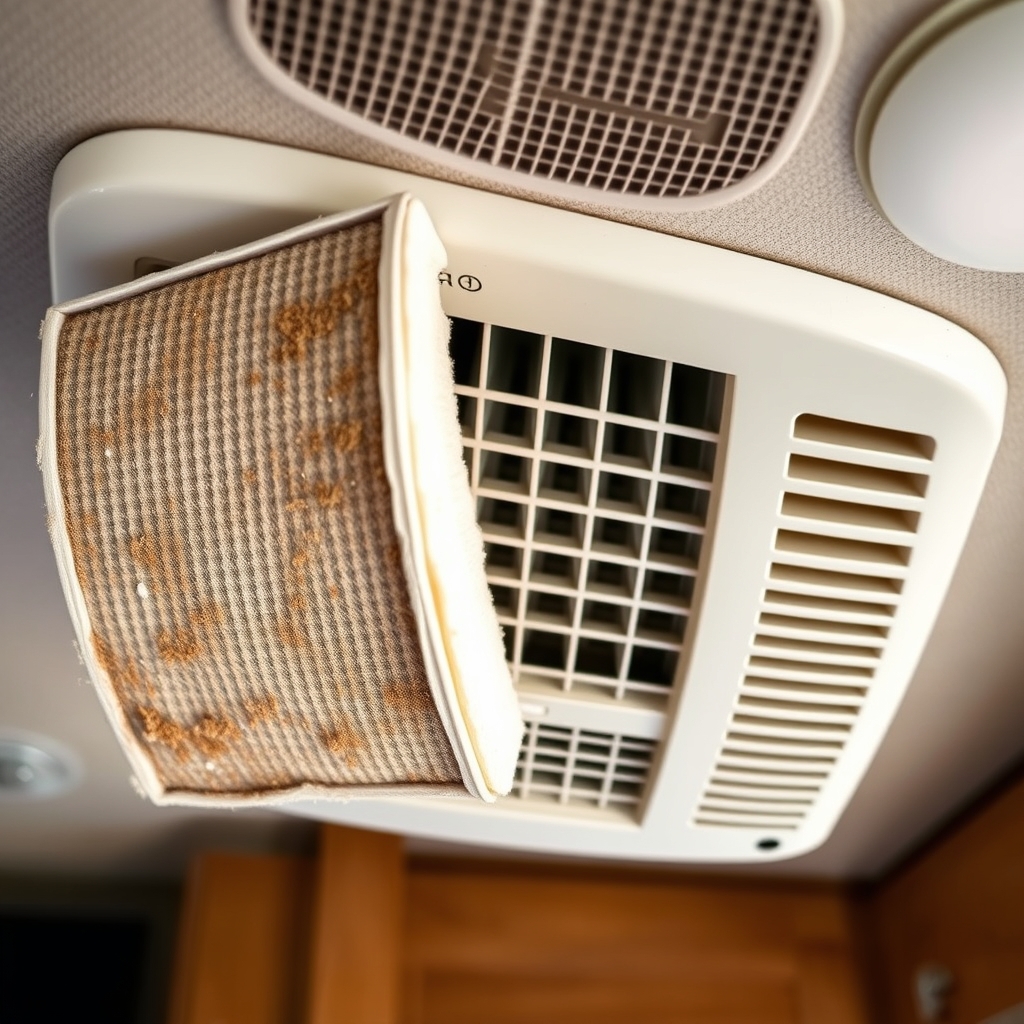
A dirty filter is one of the simplest and most common causes of poor RV AC performance.
Restricted airflow reduces heat transfer across the evaporator coil and can eventually cause icing.
Remove the interior return-air filter and:
- Wash it if it is a reusable foam type
- Replace it if your model uses a disposable filter
- Let reusable filters dry fully before reinstalling
Retest the AC after cleaning the filter.
If airflow improves significantly, do not move straight to electrical parts.
Check for a frozen evaporator coil
If airflow starts normally and then becomes weak, inspect the evaporator side for frost or ice.
Common reasons include:
- Dirty filter
- Dirty evaporator coil
- Restricted return airflow
- Closed or blocked supply vents
- Fan-speed problem
- Thermistor or thermostat issue
If the coil is frozen, switch the AC to fan-only and allow it to thaw completely.
Do not chip ice from the coil.
After thawing, correct the airflow problem before running the AC again.
Check incoming voltage
Low campground voltage or a long, undersized extension cord can cause an RV AC fan to run while the compressor struggles to start.
Check voltage while the AC is operating, not only with the unit turned off.
Investigate:
- Campground pedestal
- Shore-power cord
- Adapters
- Extension cords
- RV breaker panel
- Generator output
If voltage drops below the acceptable range for your AC manufacturer, stop running the unit until the power problem is corrected.
Repeated low-voltage operation can damage the compressor.
Listen for the compressor
When cooling is requested, you should normally hear a change in sound as the compressor starts after the fan.
If the fan runs but the compressor does not start, possible causes include:
- Low voltage
- Failed start or run capacitor
- Relay or control problem
- Compressor overload
- Compressor failure
Do not assume the compressor is bad until power and capacitor-related problems have been ruled out.
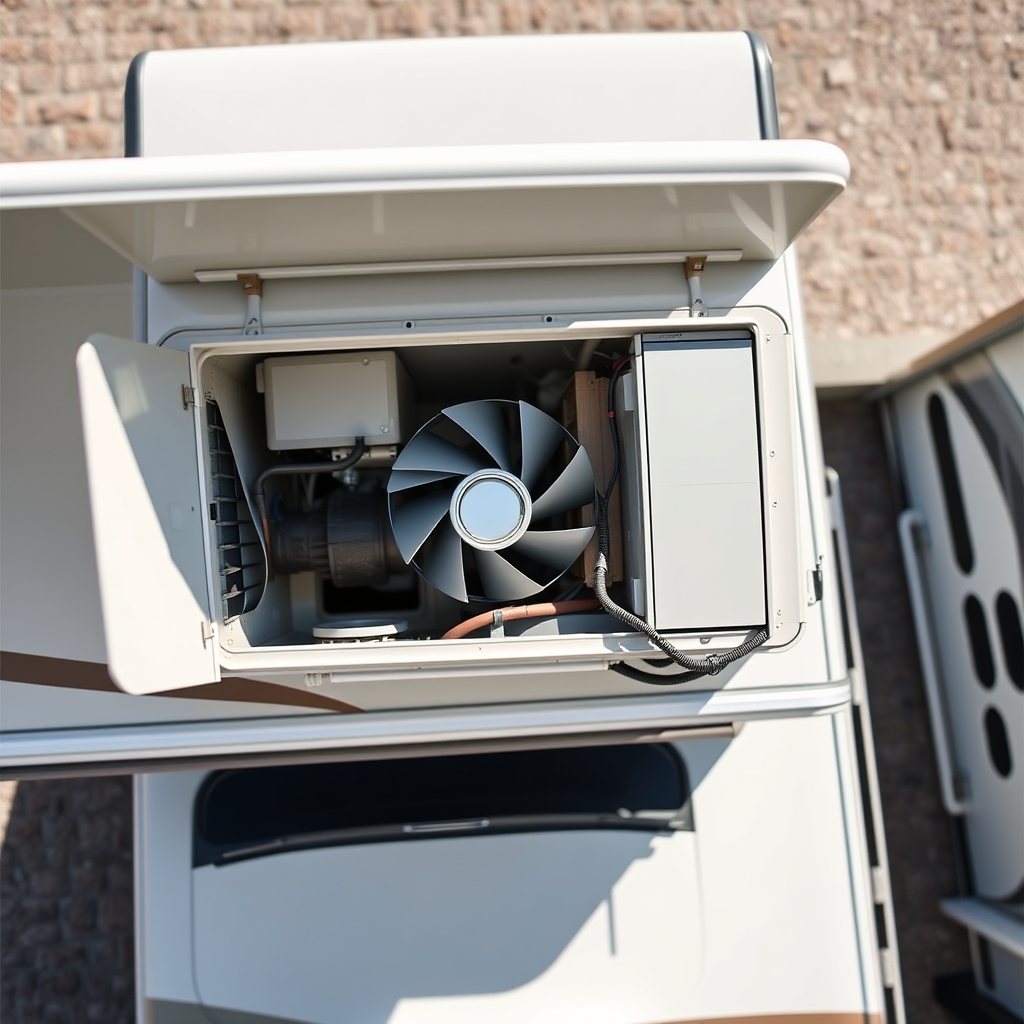
Inspect and clean the condenser coil
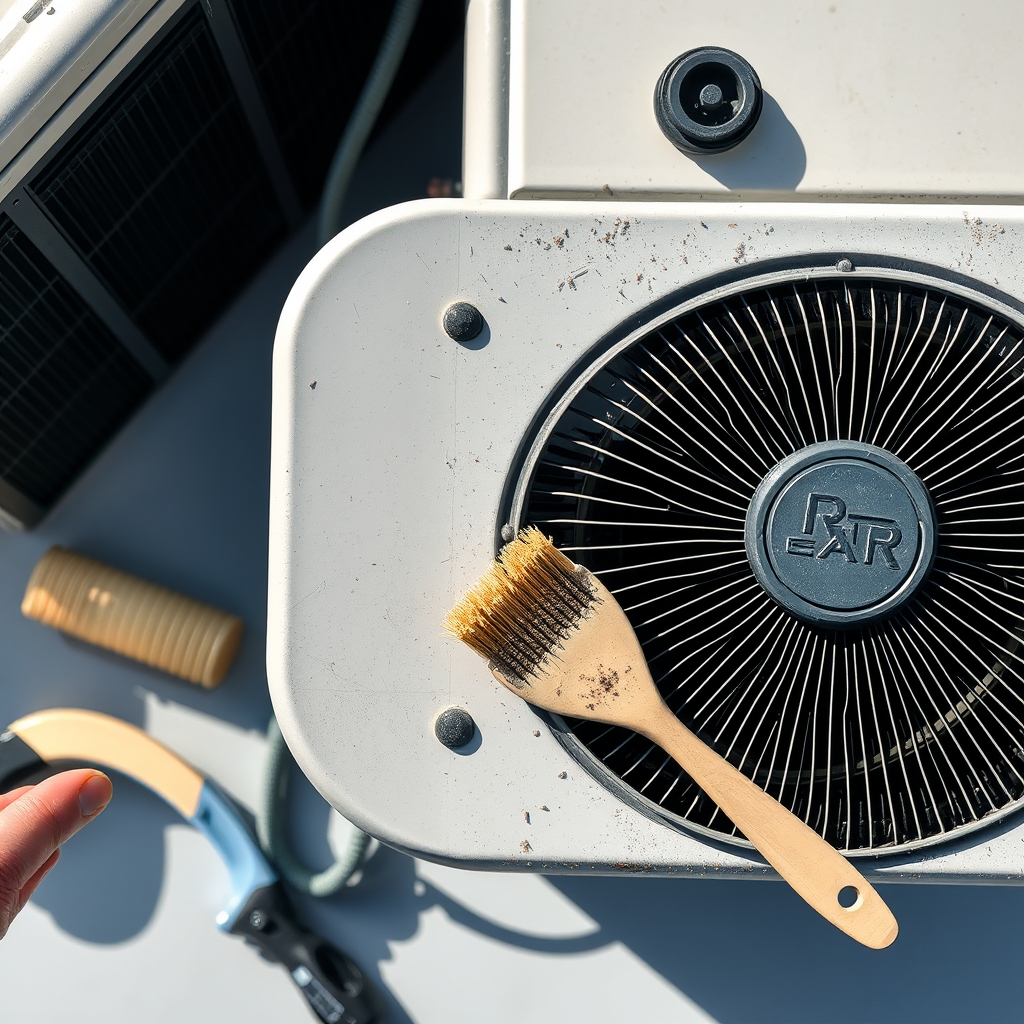
The condenser coil is on the rooftop side of the unit and releases heat to the outside air.
Dust, leaves, cottonwood, road debris, and bent fins can reduce heat rejection.
With all power disconnected and only if the roof is safe to access:
- Remove the outer shroud
- Inspect the condenser coil
- Clear loose debris
- Clean the coil using the AC manufacturer’s recommended method
- Straighten badly bent fins only with an appropriate fin tool
Avoid high-pressure water that can flatten coil fins.
A dirty condenser can make the AC run continuously while cooling poorly.
Check the evaporator coil and air divider
Inside the ceiling assembly, inspect the evaporator coil and air path.
Look for:
- Dust buildup on the coil
- Missing or damaged foam divider
- Air leaking between return and supply sides
- Loose duct connections
- Blocked ceiling registers
If cooled supply air leaks directly back into the return side, the AC can short-cycle air inside the ceiling assembly instead of cooling the RV.
This is especially important on ducted systems.
Consider the capacitor if the compressor will not start
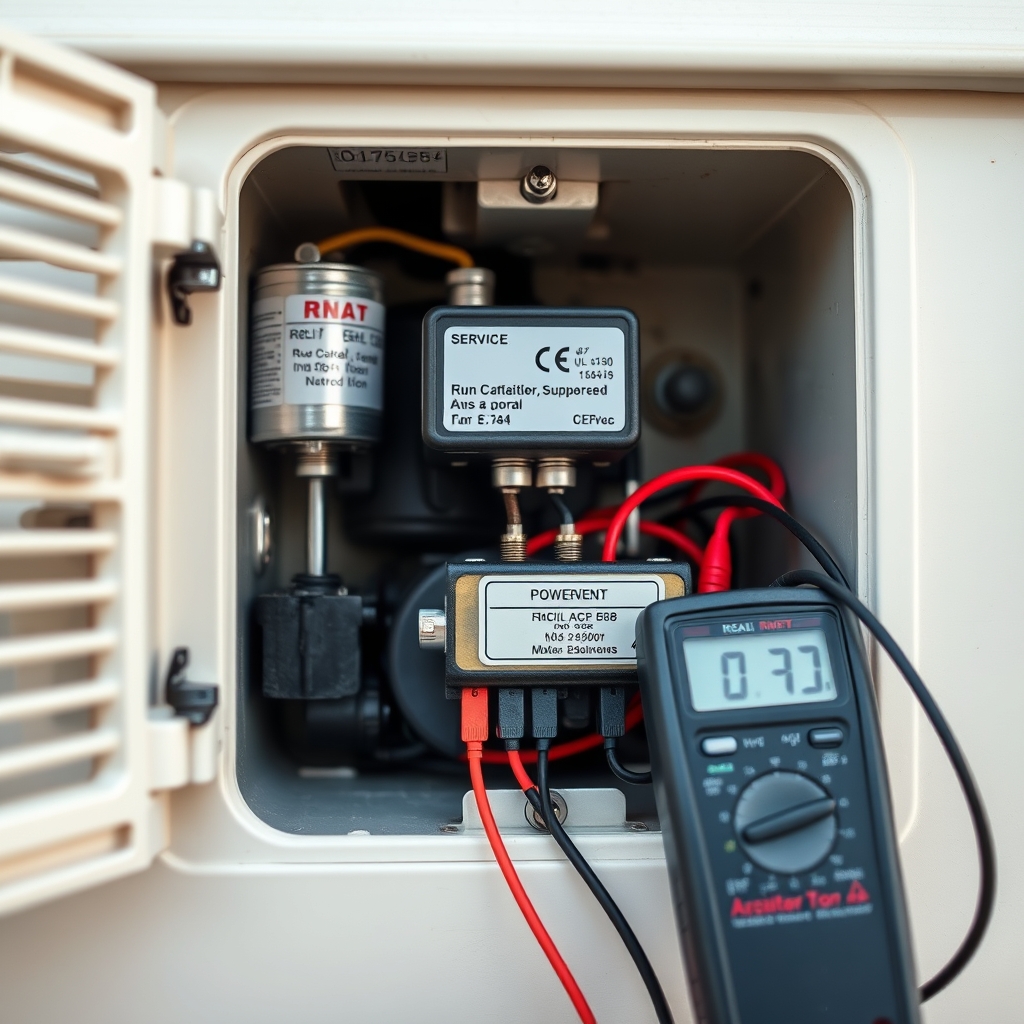
A failed capacitor can allow the fan to run while the compressor does not start correctly.
Warning signs can include:
- Humming
- Repeated startup attempts
- Breaker trips
- Bulged or leaking capacitor
Capacitors can retain dangerous voltage even after power is disconnected.
Do not touch or test one unless you know how to discharge and measure it safely.
Replacement capacitors must match the manufacturer’s required capacitance and voltage ratings.
If airflow is strong but the air is still warm
If:
- Filter is clean
- Coils are clean
- Voltage is correct
- Compressor is running
- Airflow is strong
but the temperature split remains poor, the problem may be inside the sealed cooling system.
Possible causes include:
- Refrigerant loss
- Weak compressor
- Internal restriction
Most rooftop RV air conditioners are sealed systems and are not designed for casual field recharging.
A refrigerant problem usually requires professional diagnosis, and replacement can sometimes make more economic sense than major sealed-system repair.
Make sure the AC is not simply overloaded
An RV AC can be operating normally and still struggle on very hot days.
Heat load increases from:
- Direct sun
- Large windows
- Poor insulation
- Frequent door opening
- Cooking appliances
- Multiple occupants
- High outdoor humidity
If the supply air is meaningfully colder than the return air but the cabin remains hot, reduce heat load:
- Close shades
- Use reflective window covers
- Park in shade if possible
- Close roof vents and windows
- Minimize cooking indoors
- Use fans to circulate air
That is a capacity problem, not necessarily an AC failure.
Best order for these checks
Use this sequence:
- Confirm thermostat is set to COOL.
- Run the unit long enough to stabilize.
- Measure return vs supply temperature.
- Clean the filter.
- Check for evaporator icing.
- Check operating voltage.
- Confirm the compressor starts.
- Inspect condenser and evaporator coils.
- Check for air leakage or duct problems.
- Consider capacitor/control faults.
- Suspect sealed-system or compressor problems last.
Frequently asked questions
Quick answers to the questions RV owners usually ask after working through this guide.
01 Why is my RV AC running but not blowing cold air?
Start with the filter, airflow, operating voltage, and whether the compressor is actually starting. If those are normal, inspect the coils and then consider capacitor or sealed-system problems.
02 Why does my RV AC freeze up?
The most common causes are restricted airflow from a dirty filter or coil, blocked vents, or an airflow/control issue.
03 Can low voltage make the fan run but stop the compressor?
Yes. The fan may continue to operate even when voltage is too low for the compressor to start reliably.
04 Can I recharge an RV rooftop air conditioner?
Most rooftop RV units use sealed refrigerant systems. Refrigerant diagnosis should be handled by a qualified technician, and replacement is often more practical than major sealed-system repair.
Bottom line
Start with measurements, not parts.
Check the temperature split, filter, airflow, operating voltage, coil condition, and whether the compressor is starting.
If airflow is strong, voltage is correct, and the compressor is running but the AC still produces little temperature drop, the problem is more likely to require professional sealed-system diagnosis.
This guide is educational. Stop and use a qualified RV technician when a procedure involves unsafe electrical, propane, structural or pressurized-system work beyond your experience.