If your RV roof is leaking, the first goal is not to cover the stain. It is to stop new water from entering and find the actual entry point.
Water often travels along roof decking, framing, wiring, or wall structure before it becomes visible inside. The wet spot on the ceiling may be several feet away from the failed seal.
| What you see | First areas to inspect |
|---|---|
| Stain near roof vent | Vent flange, lap sealant, nearby roof seam |
| Water near AC opening | AC gasket, mounting area, nearby sealant |
| Front or rear wall stain | Front/rear cap seam, roof edge, clearance-light area |
| Drip near skylight | Skylight flange, cracked sealant, skylight damage |
| Random ceiling stain | Nearby roof penetration, seam, membrane puncture |
| Soft roof or ceiling | Possible hidden decking/structural water damage |
The key rule is simple: find the entry point before you reseal anything.
Safety first
Do not climb onto an RV roof unless you know it is designed to support your weight and the surface is dry and safe.
If the roof feels soft, spongy, or structurally questionable, stay off it.
Use a stable ladder and avoid working in rain, strong wind, or on wet membrane.
If water is entering around 120-volt equipment, ceiling wiring, or the rooftop air conditioner, disconnect shore power and generator power before opening covers or wet areas.
Step 1: Stop active water intrusion
If the leak is happening during rain, reduce new water entry first.
Options can include:
- Moving the RV under cover
- Using a properly secured waterproof tarp
- Applying a temporary roof patch compatible with the roof material
- Protecting the interior below the leak
Inside the RV:
- Move cushions and bedding away from wet areas
- Catch active drips
- Open cabinets near the leak
- Use fans or a dehumidifier once it is safe
Drying the interior matters because hidden moisture can spread into insulation, wall panels, and flooring.
Step 2: Map the interior stain before going outside
Do not assume the leak is directly above the stain.
Note:
- Where the water first appeared
- Whether it follows a ceiling seam
- Whether the stain spreads toward a wall
- Nearby vents, skylights, AC units, antennas, or roof edges
Water can travel along structural members before dropping into the interior.
Use the stain as a starting area, not the exact leak location.
Step 3: Identify your roof material
Before choosing cleaner, sealant, primer, or repair tape, identify the roof type.
Common RV roofs include:
- EPDM rubber
- TPO membrane
- PVC membrane
- Fiberglass
- Aluminum
Do not assume every white flexible roof is the same material.
Check the owner’s manual, manufacturer information, or roof-membrane documentation if you are unsure.
Sealant compatibility matters. A product that works well on one roof system may not be the approved product for another.
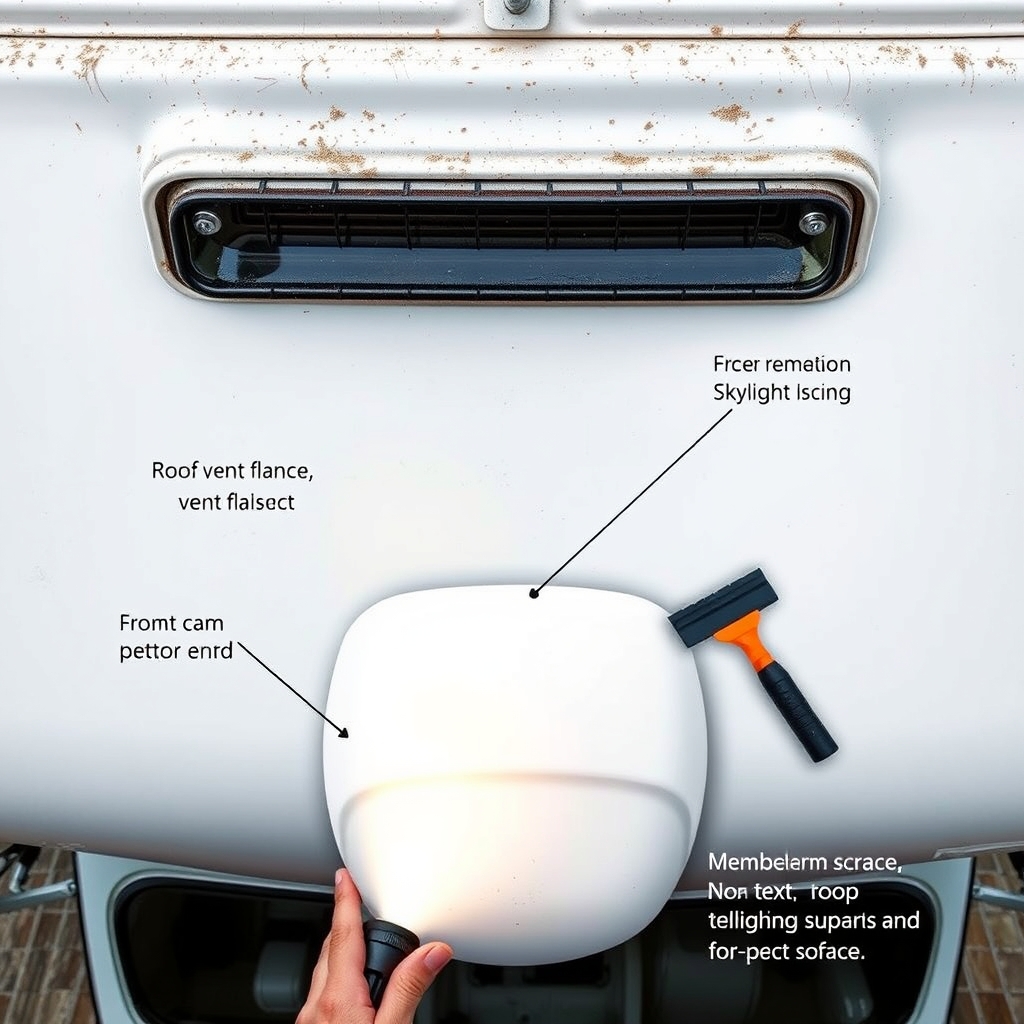
Step 4: Inspect every nearby roof penetration
Most roof leaks start at a penetration or seam rather than in the middle of an undamaged membrane.
Inspect:
- Roof vents
- Plumbing vents
- Skylights
- Antennas
- Solar mounts
- Ladder mounts
- Roof-mounted AC openings
- Cable-entry glands
Look for:
- Cracked sealant
- Gaps
- Lifted edges
- Shrinkage
- Loose fasteners
- Failed tape
- Water tracks or discoloration
Do not only inspect the component directly above the interior stain. Check the surrounding roof area as well.
Step 5: Check front, rear, and side seams
The roof-to-cap and roof-to-sidewall transitions are major leak points.
Inspect:
- Front cap seam
- Rear cap seam
- Roof edge moldings
- Termination bars
- Corner transitions
Look closely for small separations where old sealant has pulled away from one side of the joint.
A narrow crack can allow significant water entry while looking minor from a distance.
Step 6: Inspect the membrane itself
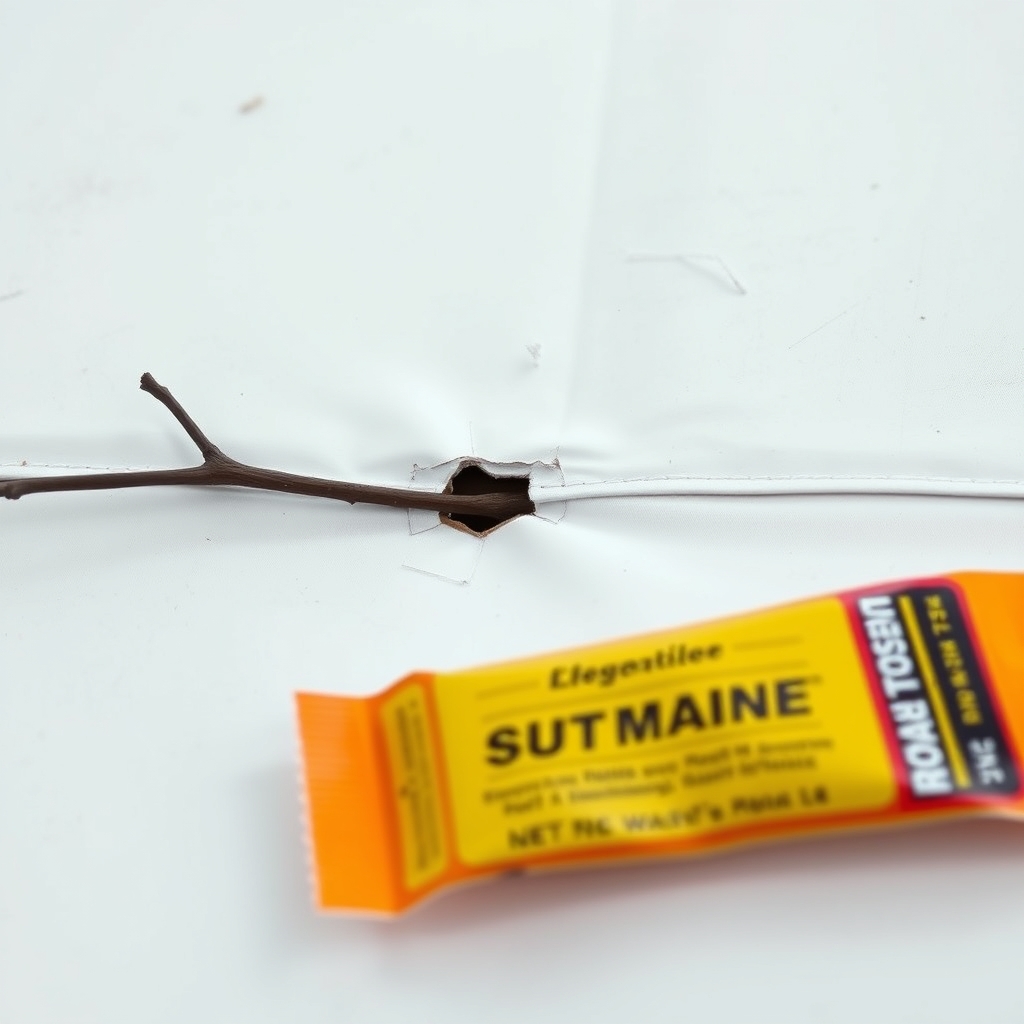
If the seams and penetrations look good, inspect the roof surface.
Look for:
- Tears
- Punctures
- Branch damage
- Lifted membrane
- Bubbles or blisters
- Previous patches
- Abrasion near roof accessories
Small membrane punctures may be repairable with a compatible patch or roof-repair tape.
Large bubbles, widespread delamination, or a soft substrate indicate a bigger problem than a simple surface seal.
Step 7: Do not simply pile new sealant over failed sealant
Adding another thick layer over dirty, loose, or cracked material can hide the problem without creating a reliable repair.
The correct preparation depends on the existing sealant and roof system.
In general:
- Remove loose or failed material as allowed by the manufacturer.
- Clean the repair area using a compatible cleaner.
- Let the surface dry.
- Apply the correct primer if required.
- Apply roof-compatible sealant or repair tape.
- Tool or roll the repair according to product instructions.
Do not use household silicone as a universal RV roof repair product.
Silicone can create adhesion problems for later repairs on some RV roof systems.
Step 8: Know when to use lap sealant versus repair tape

Self-leveling lap sealant is commonly used around horizontal roof penetrations and flanges when it is compatible with the roof system.
Repair tape can work well for:
- Small membrane tears
- Seam repairs
- Emergency patches
- Reinforcing certain roof joints
Tape requires proper surface preparation and pressure to activate the adhesive.
Do not apply tape over dirt, loose sealant, chalking, or moisture and expect a permanent repair.
For vertical edges or sidewall transitions, use the sealant type specified for that orientation and roof system.
Step 9: If the leak is around the AC, check the gasket
A rooftop AC leak is not always a roof-membrane problem.
Water can enter around the foam gasket between the AC unit and roof opening.
Signs include:
- Water near the AC ceiling assembly
- Leak appears mainly during heavy rain
- Roof sealant around the unit looks normal
- Water appears directly around the AC opening
The AC gasket may be compressed, loose, damaged, or deteriorated.
Do not overtighten mounting bolts. Compressing the gasket too far can damage it and create future leaks.
Use the air-conditioner manufacturer’s mounting specification.
Step 10: Check for hidden water damage
Stopping the entry point is only half the job if water has already been entering for some time.
Inspect inside for:
- Soft ceiling panels
- Spongy roof decking
- Musty odor
- Wall delamination
- Wet insulation
- Staining inside cabinets
- Soft flooring near the wall
A soft roof or wall means the repair may involve decking, insulation, framing, or interior panels.
Sealant alone does not repair structural water damage.
Step 11: Use controlled water testing carefully
If the source is still unclear, a controlled water test can help.
Start low and work upward, wetting one small area at a time.
Have another person watch the interior.
Avoid flooding the entire roof at once because that makes the leak source harder to isolate.
Do not direct high-pressure water at seams, vents, windows, or AC gaskets.
If the leak remains difficult to trace, professional pressure testing or moisture detection can be more efficient than repeatedly resealing random areas.
When is a spot repair enough?
A spot repair may be reasonable when:
- The leak source is clearly identified
- Roof substrate is firm
- Damage is limited
- Membrane is otherwise healthy
- Compatible repair materials can restore the seal
Examples include:
- Cracked sealant around a vent
- Small membrane puncture
- Short failed seam
- Localized repair-tape failure
When does the roof need professional repair?
Use a professional evaluation if you find:
- Soft or rotten decking
- Large membrane bubbles
- Widespread delamination
- Multiple active leaks
- Major storm or branch damage
- Wall delamination
- Repeated leaks after proper resealing
- Unclear roof material or incompatible previous repairs
A full roof replacement should not be the automatic first answer, but structural damage should not be hidden under fresh sealant either.
Troubleshooting order
Use this sequence:
- Stop active water entry.
- Dry the interior.
- Map the stain or drip location.
- Identify the roof material.
- Inspect nearby penetrations.
- Inspect front, rear, and edge seams.
- Check the roof membrane.
- Inspect the AC gasket if relevant.
- Repair only with compatible materials.
- Check for hidden structural damage.
- Water-test the repair before considering the job complete.
Frequently asked questions
Quick answers to the questions RV owners usually ask after working through this guide.
01 Where do RV roofs usually leak?
Common leak points include roof vents, skylights, AC openings, antennas, front and rear cap seams, roof edges, and failed sealant around roof penetrations.
02 Is the leak directly above the ceiling stain?
Not necessarily. Water can travel along roof decking, framing, and wiring paths before appearing inside.
03 Can I put new lap sealant over old sealant?
Only if the existing material is sound, clean, compatible, and the product manufacturer allows it. Loose, cracked, contaminated, or poorly bonded material should not simply be buried.
04 Is roof repair tape permanent?
Quality RV roof-repair tape can provide a long-lasting repair when used on a compatible, properly prepared surface and applied according to the manufacturer’s instructions.
05 When is an RV roof leak structural?
Soft decking, wall delamination, wet insulation, sagging panels, or widespread membrane separation suggest the damage has moved beyond a simple sealant repair.
Bottom line
Treat an RV roof leak as a tracing problem first and a sealing problem second.
The interior stain may not be below the entry point. Inspect roof penetrations, cap seams, edges, membrane damage, and AC gaskets systematically.
Use materials compatible with the actual roof type, and do not hide soft or rotten structure under another layer of sealant.
This guide is educational. Stop and use a qualified RV technician when a procedure involves unsafe electrical, propane, structural or pressurized-system work beyond your experience.