If your RV trailer brakes are not working, treat it as a stop-and-diagnose problem, not something to test on the highway.
Electric trailer brakes depend on one continuous path: the tow vehicle’s brake controller sends power through the 7-way connector, down the brake-output circuit, through the brake magnets, and back through ground.
You do not need to work through a generic 12-step routine. Start with the six checks below, then use the symptom-specific sections only if the basic circuit checks pass.
| Symptom | First checks |
|---|---|
| Controller says no trailer | 7-way connector, trailer ground, brake-output wire |
| No braking at all | Controller output, fuse, connector, ground, wiring |
| Weak braking | Gain, voltage drop, brake adjustment, worn/contaminated brakes |
| One wheel not braking | Local wiring, magnet, brake assembly |
| Brakes lock or drag | Gain too high, breakaway switch, adjustment, shorted wiring |
| Brakes work intermittently | Corrosion, loose ground, damaged connector or wire |
Do not tow normally until braking performance is restored.
Safety first
Trailer brakes are a safety-critical system.
If the trailer has little or no braking force, move it only as needed to reach a safe place for diagnosis or repair.
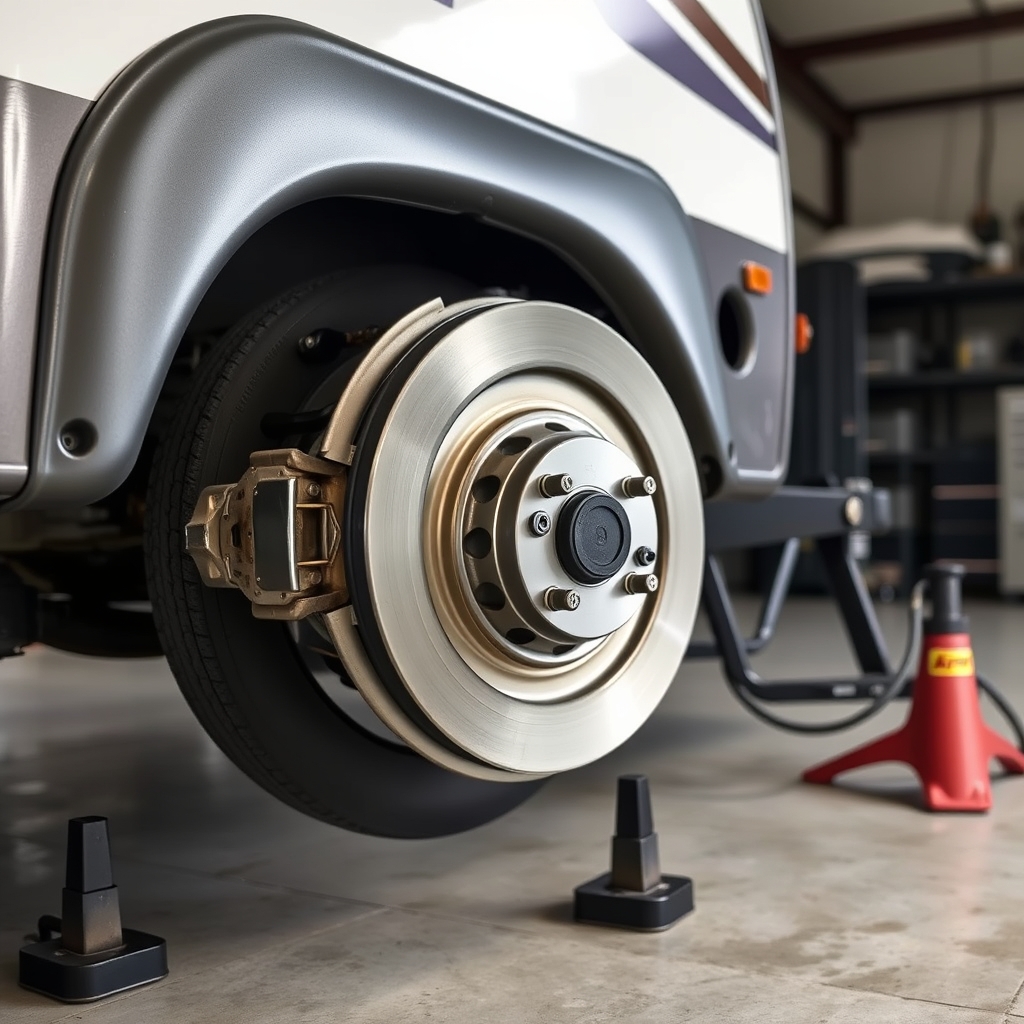
Never work under a trailer supported only by a jack. Chock the wheels and use properly rated jack stands on solid ground.
If the fault involves overheated hubs, damaged brake wiring inside the axle, contaminated brake shoes, or a problem you cannot isolate confidently, use a qualified trailer or RV technician.
Check 1: Brake controller power and connection
Start on the tow-vehicle side.
Check:
- Brake controller display or status light
- Vehicle trailer-brake fuse
- Controller power and ground
- Controller gain setting
- Any controller error message
If the controller reports no trailer connected, do not immediately assume the controller itself is bad.
That message often means the controller cannot see a complete electrical path through the trailer brake circuit.
Check 2: Use the controller manual override
With the trailer connected and parked safely, use the brake controller’s manual override.
This is a useful diagnostic because it commands trailer braking directly without relying on normal pedal behavior.
If the controller shows output but the trailer brakes do nothing, continue down the circuit.
If the controller produces no output at all, focus on:
- Controller power
- Controller ground
- Brake-output wire
- Vehicle fuse
- Vehicle-side connector wiring
Do not road-test a trailer with known nonfunctional brakes.
Check 3: Inspect the 7-way connector
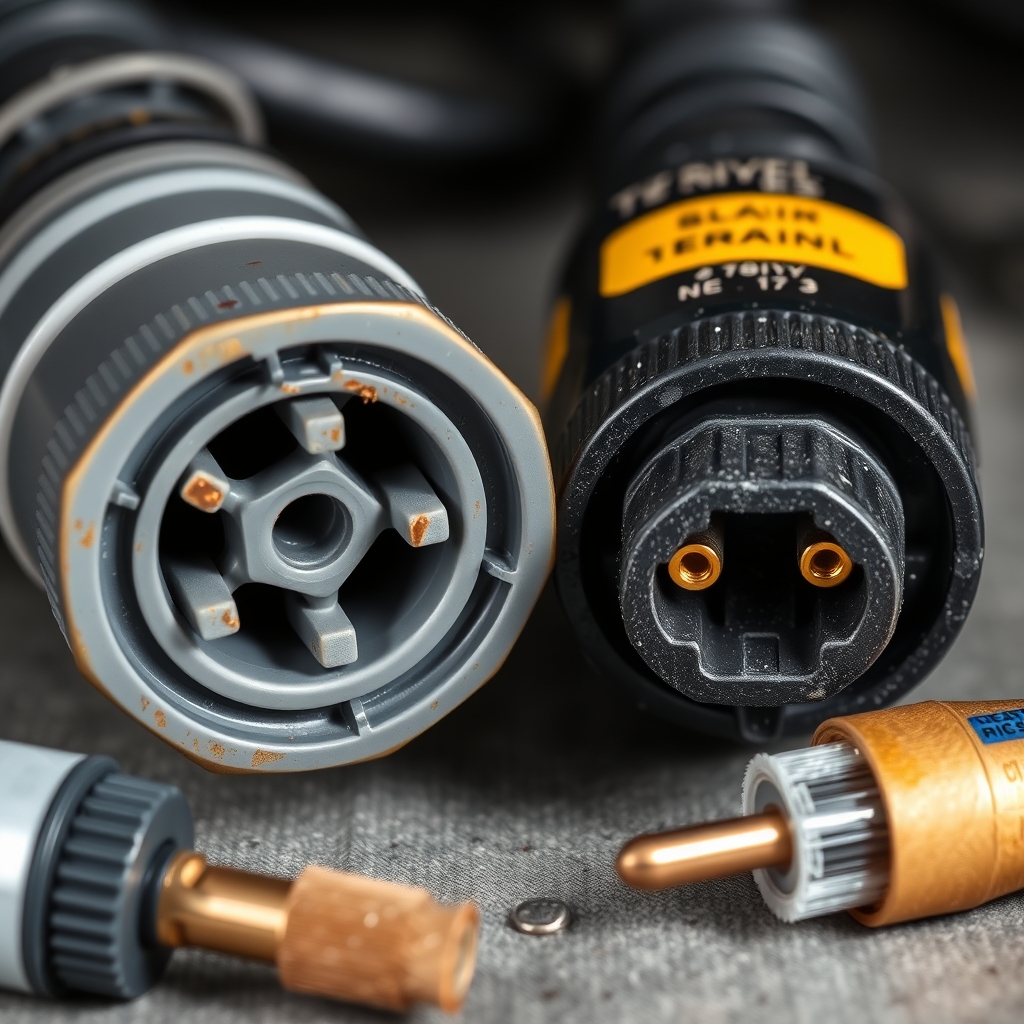
The 7-way plug is exposed to water, road salt, dirt, and repeated movement.
Inspect both the tow-vehicle socket and trailer plug for:
- Green or white corrosion
- Bent pins
- Pushed-back terminals
- Loose connections
- Heat damage
- Dirt or moisture
Clean minor corrosion using an appropriate electrical-contact cleaner.
If a terminal is loose or burned, repair the connector instead of forcing it to make contact.
A working trailer light circuit does not prove the brake circuit is healthy. Lights and brakes use different circuits.
Check 4: Verify the trailer ground
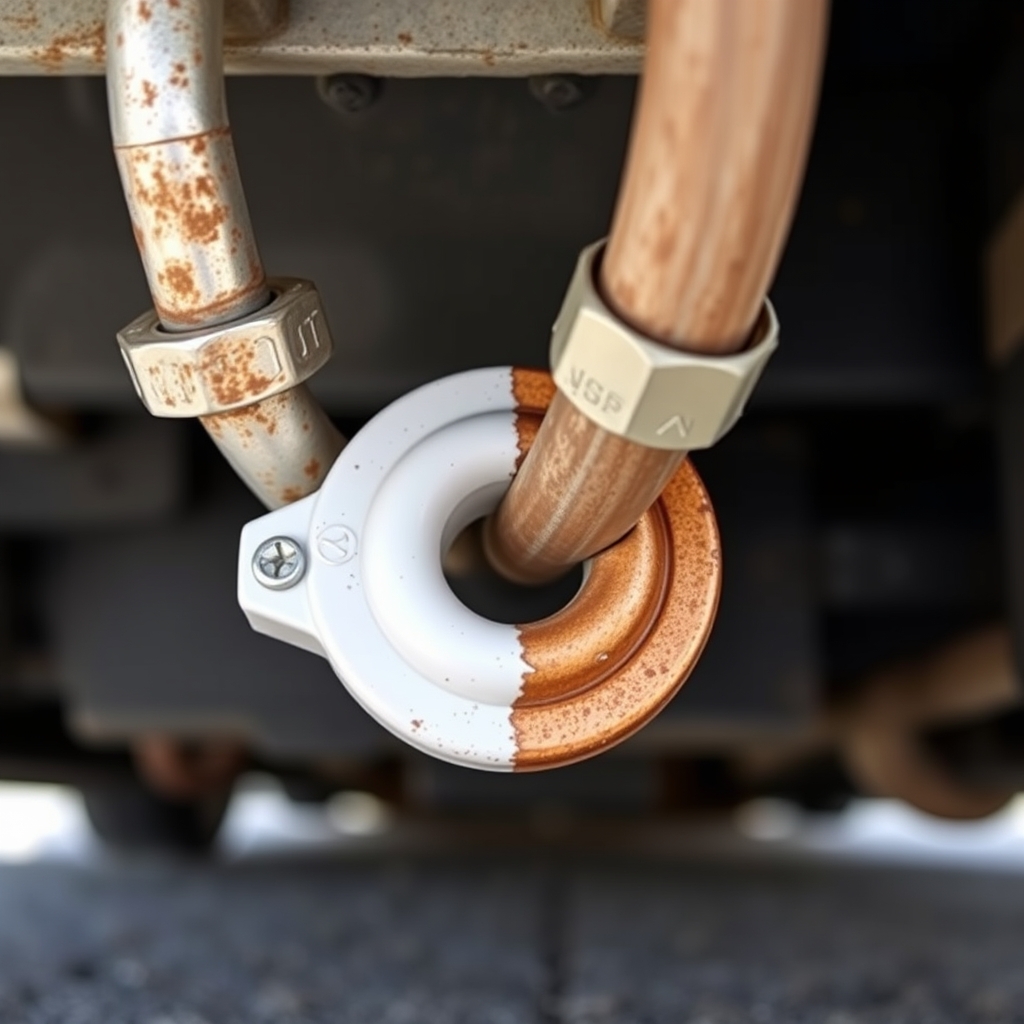
A poor ground can cause:
- No braking
- Weak braking
- Intermittent braking
- “No trailer” messages
Inspect the main trailer ground where it connects to the frame.
Look for:
- Rust
- Paint under the terminal
- Loose hardware
- Broken wire
- Corrosion
The ground connection should be clean, tight, and attached to bare metal.
Also inspect local ground connections at brake assemblies if your trailer uses them.
Ground faults are common because the brake magnets need a complete current path to work.
Check 5: Verify brake output at the connector
With the controller manual override applied, test the brake-output circuit at the trailer connector.
If voltage is present at the vehicle’s 7-way output but not reaching the trailer side, the fault is at the connector.
If voltage is present on the trailer side, continue tracing it toward the axles.
Do not rely only on unloaded voltage.
A corroded connection can show voltage on a meter but still fail under the current demand of multiple brake magnets.
If possible, use voltage-drop testing under load for a more meaningful result.
Check 6: Trace the brake wiring toward the axles
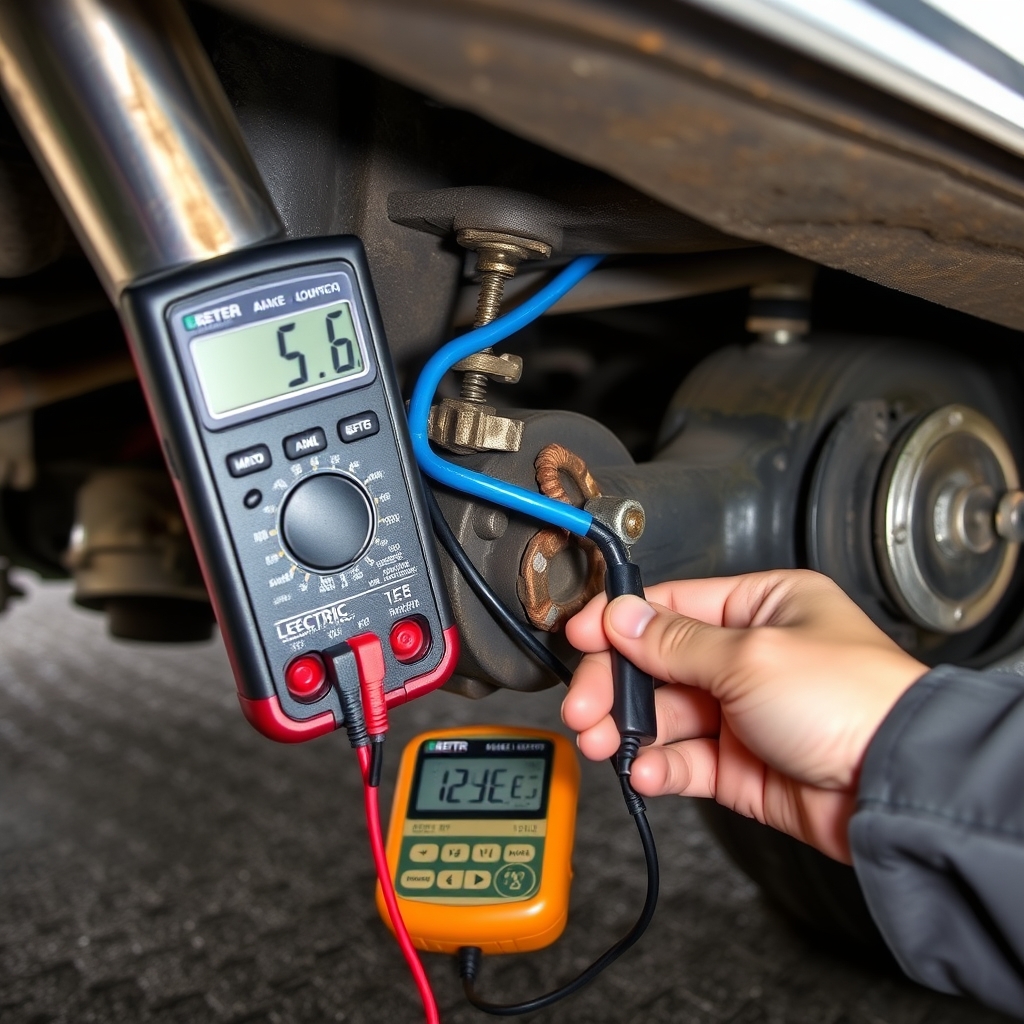
Follow the brake-output wiring from the tongue toward the axles.
Pay special attention to:
- Splices
- Junction boxes
- Wire entering axle tubes
- Connections near moving suspension parts
- Areas exposed to road debris
Look for:
- Crushed insulation
- Broken conductors
- Corroded splices
- Loose crimp connectors
- Wires rubbing against metal
- Heat damage
If all brakes fail together, focus on wiring before the circuit splits to individual wheels.
If only one brake fails, focus on the branch serving that wheel.
If the first six checks pass: inspect the breakaway system
The breakaway system applies the trailer brakes if the trailer separates from the tow vehicle.
Check:
- Breakaway pin fully inserted
- Breakaway battery connected
- Battery charged
- Wiring secure
- Switch not damaged
A partially pulled or failed breakaway switch can cause brake drag or lockup.
Do not casually pull the breakaway pin while the trailer is connected to the tow vehicle unless the manufacturer’s test procedure specifically allows it. Some systems can backfeed the brake controller.
Test the brake magnets
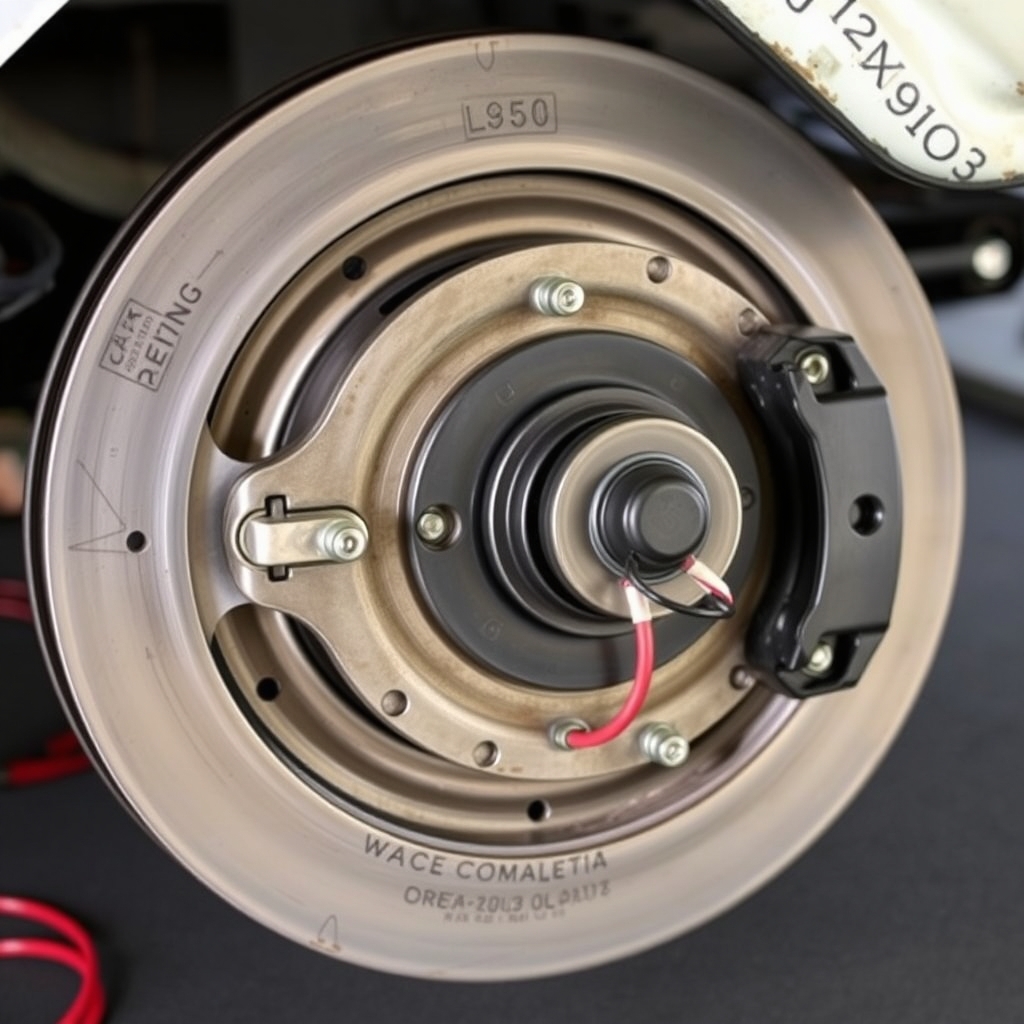
If correct power reaches the axle wiring but one or more brakes still do not work, the magnets become a stronger suspect.
A brake magnet can fail because of:
- Open winding
- Shorted winding
- Damaged lead wire
- Worn magnet face
- Poor local connection
Test magnet resistance and current using the specification for the exact brake size and manufacturer.
Do not use a universal resistance number for every trailer brake. Different brake sizes can use different specifications.
If multiple brakes are connected, total system current can also help identify whether one magnet is missing from the circuit.
If electrical checks pass, inspect mechanical adjustment
Electric drum brakes can receive full electrical power and still produce weak braking if the shoes are too far from the drum.
Mechanical causes include:
- Brake shoes out of adjustment
- Worn shoes
- Glazed linings
- Grease contamination
- Damaged drum
- Weak or damaged hardware
If the brakes make noise or you can confirm magnet operation but braking force is poor, mechanical inspection becomes important.
Some brake assemblies are self-adjusting; others require manual adjustment.
Use the procedure for your brake assembly.
If only one wheel is not braking
A single non-working wheel usually points to a local fault.
Check:
- Wiring branch to that wheel
- Magnet leads
- Local ground
- Magnet condition
- Brake adjustment
- Shoe and drum condition
Compare the suspect wheel with a working wheel on the same trailer.
That comparison can quickly separate a trailer-wide electrical problem from a single brake assembly fault.
If the brakes are weak
Weak braking does not always mean the controller gain is too low.
Check:
- Controller gain and boost setting
- Voltage drop
- Ground quality
- Connector condition
- Brake adjustment
- Magnet performance
- Shoe contamination
Adjust controller gain only after confirming the hardware is functioning.
Increasing gain cannot compensate for a bad ground, damaged wiring, or poorly adjusted brakes.
If the brakes lock or drag
If the brakes grab too aggressively or remain applied, stop and investigate.
Possible causes include:
- Controller gain too high
- Breakaway pin partly pulled
- Shorted brake-output wiring
- Brake adjusted too tightly
- Mechanical brake damage
A dragging brake can overheat the hub, damage bearings, and create a fire risk.
If a hub is extremely hot, allow it to cool and inspect the brake and bearing system before continuing.
Quick diagnostic flow
Use this sequence:
- Confirm controller power and gain.
- Use the controller manual override.
- Inspect both sides of the 7-way connector.
- Check the trailer ground.
- Verify brake output at the connector.
- Trace wiring toward the axles.
- Check the breakaway switch and battery.
- Test brake magnets to manufacturer specification.
- Inspect mechanical brake adjustment and condition.
- Compare individual wheels if the fault is uneven.
Frequently asked questions
Quick answers to the questions RV owners usually ask after working through this guide.
01 Why does my brake controller say no trailer connected?
The controller may not see a complete brake circuit. Check the 7-way connector, trailer ground, brake-output wire, splices, and brake magnets before replacing the controller.
02 Why do my trailer lights work but the brakes do not?
Lights and electric brakes use separate circuits in the 7-way connector. A working light circuit does not prove the brake-output wire or ground path is healthy.
03 Why are my trailer brakes weak?
Common causes include low controller gain, voltage drop, a poor ground, brakes out of adjustment, worn magnets, or contaminated brake shoes.
04 Why is only one trailer brake not working?
That usually indicates a local wiring, magnet, ground, or mechanical brake problem at that wheel.
05 Can I tow if the trailer brakes are not working?
Do not continue normal towing with known brake failure. Restore braking performance or arrange safe repair before returning to the road.
Bottom line
Diagnose electric trailer brakes from the tow vehicle outward.
Start with the controller, then the 7-way connector and ground, then trace the brake-output wiring toward the axles.
Only after electrical power and ground are confirmed should you move to brake magnets and mechanical adjustment.
That order prevents unnecessary parts replacement and, more importantly, keeps a safety-critical brake fault from being treated as a minor inconvenience.
This guide is educational. Stop and use a qualified RV technician when a procedure involves unsafe electrical, propane, structural or pressurized-system work beyond your experience.