RV Battery Not Charging? Isolate the Charging Source First
If your RV battery is not charging, do not start by buying a battery or converter. First identify which charging source has failed: shore power or generator, the tow vehicle, solar, or the battery’s ability to retain a charge.
Start with the safe checks below. Stop and get qualified help if a shore cord, plug, inlet, or pedestal is hot, damaged, discolored, or smells burnt; if breakers repeatedly trip; or if a battery is swollen, hot, leaking, or shows signs of a short. Do not open an energized 120V AC panel, probe live AC conductors, bypass a fuse or breaker, or defeat a safety device.
This guide applies to RV house or coach batteries in travel trailers, fifth wheels, campers, and motorhomes. Charging layouts vary by RV, converter model, battery chemistry, and model year.
The One-Minute Triage: Which Charging Path Is Failing?
Choose the statement that best matches the symptom. Follow that path first rather than checking every component at once.
- The battery does not charge on shore power or generator: This involves a 120V AC source feeding a converter or charger, then a 12V DC path to the house battery.
- The trailer battery does not charge while towing: This is usually a 12V DC tow-vehicle path through the 7-pin connector, vehicle fuse or relay, and trailer wiring.
- The battery does not charge from solar: This is a 12V DC solar path involving panels and a solar charge controller.
- The battery appears to charge but goes flat soon afterward: The charge source may be working, but the battery, its connections, or a load on the RV may need attention.
A motorhome can add another branch: the chassis or starting battery and the house battery may be charged through different equipment. Identify which bank is affected before diagnosing an isolator, combiner, solenoid, or battery-management device.
How an RV Battery Gets Charged, and What Not Charging Means
On shore power or generator power, the normal path is:
120V AC source → converter/charger → 12V DC distribution → house battery and 12V loads
A converter changes incoming AC power into DC power for RV loads and battery charging. An inverter does the opposite: it changes battery DC power into AC power. Some RVs have an inverter/charger, which can perform both roles when its installation supports them.
Towing and solar are separate charge paths:
- A tow vehicle may send charging power through the trailer’s 7-pin auxiliary circuit.
- Solar panels send power through a solar charge controller before it reaches the battery.
Two different problems can produce the same complaint. Not charging can mean no charge is reaching the battery at all, or it can mean charge is arriving but not fast enough to keep up with the 12V loads running at the same time, such as lights, a furnace blower, a fan, or a refrigerator control board. A converter can hold the RV’s loads and the battery voltage steady while the battery receives very little net charge, which is one reason interior lights are a weak test and the active-source versus resting reading comparison matters.
Safe First Checks Before You Touch a Meter
These observations can rule out common issues without opening electrical equipment.
- Confirm the shore cord is fully seated. Check both the pedestal end and the RV inlet.
Observation: A loose connection, damaged connector, or inactive pedestal breaker can prevent AC from reaching the RV.
Next safe action: If the cord and connections look normal, confirm the pedestal breaker and RV main breaker are on. If you see heat damage or smell burning, disconnect if safe to do so and seek qualified help.
- Check whether normal 120V AC items work.
Observation: Working AC outlets or appliances can indicate that AC is reaching the RV. It does not prove that the converter is charging the battery.
Next safe action: If no AC items work, treat this as an AC-supply problem rather than a battery diagnosis. Do not open the energized distribution panel.
- Find the battery disconnect switch.
Observation: Its location varies. It may be near the entry, in the battery compartment, or near the DC distribution area. A switch position or wiring arrangement can affect whether the battery is connected to the RV’s charging path.
Next safe action: Use the RV owner’s manual to confirm the position that connects the battery for use and charging. Do not rely on a label alone if the switch behavior is unclear.
- Compare 12V behavior on battery power and shore power.
Observation: Lights, fans, pumps, and control panels behaving differently when shore power is connected can suggest that the converter is supplying 12V loads. It does not confirm that charging current is reaching the battery.
Next safe action: Take a battery-terminal voltage reading before drawing conclusions.
- Inspect battery terminals and visible cables.
Observation: Loose, corroded, wet, damaged, or heat-affected connections can interrupt charging or mimic a failed converter.
Next safe action: Stop if the battery is hot, swollen, leaking, or if cables are visibly damaged. Otherwise, use the RV and battery documentation before any cleaning or tightening work.
The One Reading That Matters: DC Voltage at the Battery
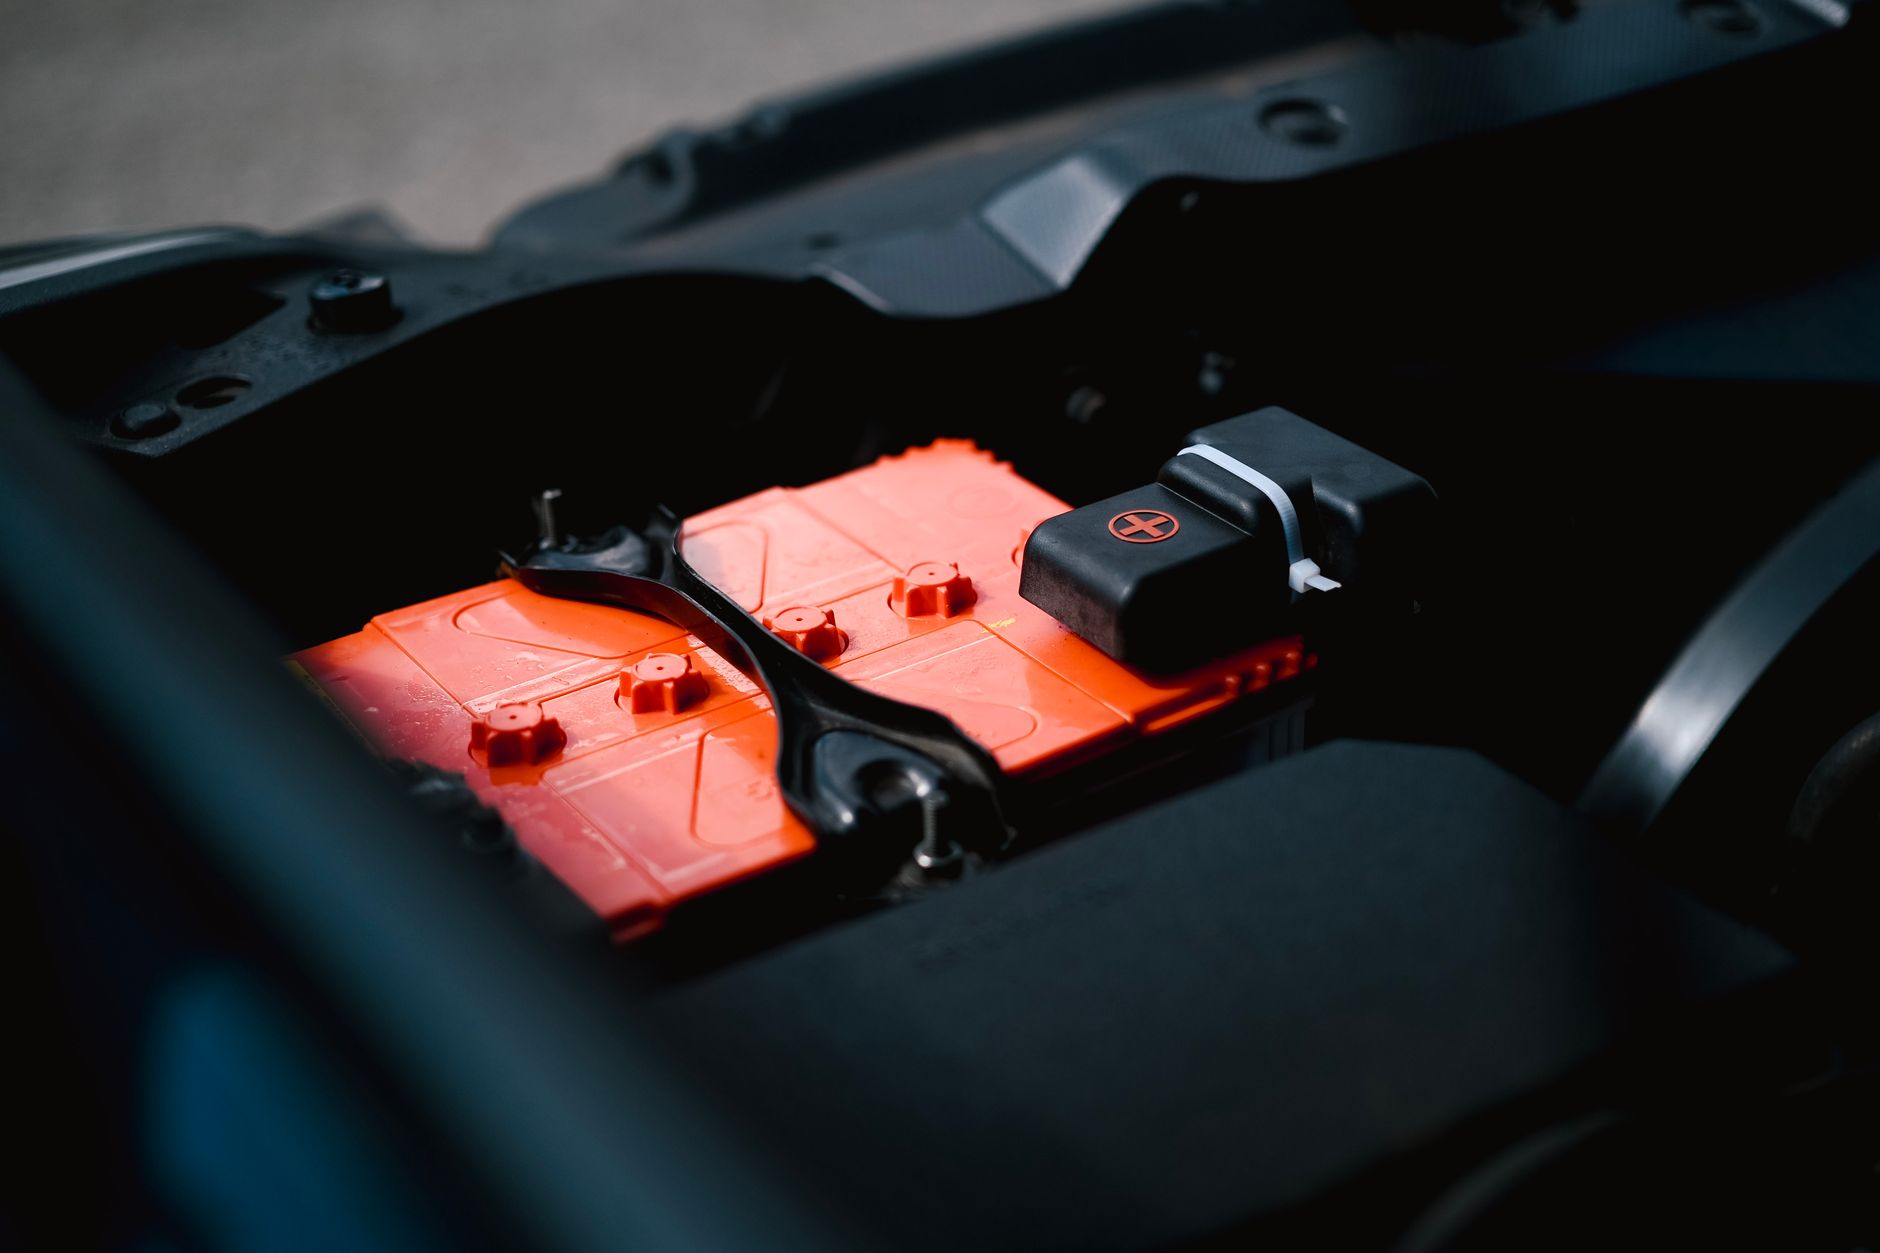
Photo by Ayyeee Ayyeee on Pexels
A battery-terminal reading helps separate the RV has power from the battery is actually seeing a charging source. Use a multimeter set to DC volts and measure directly across the battery’s positive and negative terminals.
Take two readings:
- With the suspected charging source active, such as shore power, generator, engine running, or solar in usable sun.
- With all charging sources removed, after surface charge has had time to dissipate according to the battery manufacturer’s guidance.
Exact charging and resting values depend on battery chemistry, temperature, state of charge, charger profile, and the equipment design. Confirm expected values in the documentation for your battery and charger. Voltage alone does not prove usable battery capacity or overall battery health, and it does not tell you whether the charger is keeping up with the RV’s active 12V loads.
| Condition | What the reading may suggest | What it does not prove | Next safe action |
|---|---|---|---|
| Charging source active | A reading that changes from the battery-only condition may indicate that the source is reaching the battery. | It does not prove the battery can accept or retain a useful charge. | Compare the reading with the battery and charger documentation. |
| Shortly after charging stops | Surface charge may temporarily affect the result. | It is not a dependable resting-voltage result. | Wait as directed by the battery manufacturer before interpreting it. |
| Resting after surface charge dissipates | The battery’s standing voltage can help identify a discharged or abnormal condition. | It does not replace a capacity or load test. | If the battery repeatedly falls after confirmed charging, arrange a battery-health test. |
Keep this table as selectable HTML text on the page; it is a reference the reader compares against, not an illustration.
Not Charging on Shore Power or Generator: Follow the Path to the Battery
If the battery does not charge from shore power or the generator, check the path in order: AC source, converter or charger, battery disconnect and charge path, then the battery itself. A failed AC supply and an open 12V protective device can produce a similar symptom, but they need different repairs.
Confirm 120V AC Is Reaching the RV
Check the pedestal breaker, cord seating, RV main breaker position, and whether normal AC outlets or appliances have power. A generator can run without proving that its output is reaching the converter path in your particular RV.
If AC is not reaching the RV, the battery issue is not yet a converter diagnosis. Do not repair a pedestal, shore inlet, cord, or energized panel yourself when there is heat damage, arcing, discoloration, or a burning smell.
Check the Battery Disconnect and Converter Path
With AC present, the next question is whether the converter or charger is supplying DC power and whether that power reaches the house battery. The battery-terminal reading is the owner-safe check: compare it with the source active and then after charging is removed.
Converter layouts and test procedures are model-specific. The Progressive Dynamics converter troubleshooting guides are an example of manufacturer documentation that must be matched to the exact converter family before applying a procedure. If your model’s instructions require opening a converter enclosure or testing inside an AC panel, that is technician-only work.
Check Charge-Line Fuses or Resettable Breakers by Documentation
Some RVs use an inline fuse or resettable 12V breaker between the converter and battery. It may be near the battery or elsewhere along the positive cable, but location and protection type vary.
If you can identify a protective device in your model’s wiring documentation: inspect it only as the manufacturer permits. An open device may explain why the RV has 12V power from the converter while the battery is not being charged.
Next safe action: Replace a fuse only with the rating specified for that circuit. Never install a larger fuse, bypass a breaker, or substitute a protective device because it keeps blowing. If you cannot identify the device and its specified rating, use an RV technician.
Reverse-Polarity Fuses and Charging Modes Are Model-Dependent
Some converters use reverse-polarity protection fuses, which may open after an incorrect battery hookup. Some also have selectable or automatic charging profiles. Neither feature is universal.
If charging stopped immediately after battery replacement or a hookup mistake, check the converter manual for the specified reverse-polarity-fuse procedure. Only use the documented replacement rating. Also verify that the installed charging profile is permitted for the installed battery chemistry.
When the Converter Appears to Work but the Battery Does Not Charge
A converter can supply RV loads while a loose connection, corroded cable end, bad ground path, open protective device, or battery problem prevents useful charging. Inspect only visible terminals and cable ends without dismantling equipment.
If the battery-terminal reading changes appropriately with charging active but the battery soon loses charge, move to the battery-health section rather than assuming the converter has failed.
Not Charging While Driving or Towing
A trailer does not automatically receive meaningful charging power from every tow vehicle. The 7-pin auxiliary line may be absent, fused, relay-controlled, ignition-switched, limited by the vehicle’s design, or interrupted by trailer wiring.
Start with the tow vehicle owner’s manual:
- Confirm whether the vehicle is equipped to provide trailer auxiliary charging.
- Confirm whether that circuit depends on ignition state, a relay, or a vehicle fuse.
- Inspect the 7-pin connector for visible damage or corrosion without forcing or modifying terminals.
- With the trailer connected and the engine running, compare the battery-terminal reading with the engine-off condition.
If the reading does not change: that does not identify the failed part by itself. The issue may be on the truck, connector, trailer wiring, disconnect arrangement, or battery side. Do not rewire the 7-pin or bypass a relay based on a generic diagram.
Motorhomes: House Battery Versus Chassis Battery
Motorhomes may charge the chassis battery and house battery through different paths. An isolator, solenoid, combiner, BIM, or other control system may determine when the banks connect.
Identify which battery bank is not charging, then consult the coach manufacturer’s documentation for that exact model. Do not bypass or rewire an isolation device to force the banks together.
Not Charging From Solar: Check the Controller First

Photo by Petra Reid on Pexels
For a solar-only symptom, start at the controller rather than the converter. Confirm that the controller is powered, its status is consistent with available sun, and the panels are not shaded or covered.
Only inspect roof-mounted equipment when access is safe and conditions allow. Compare the controller’s documented operating state with the battery-terminal reading in sunlight. Controller displays, settings, and troubleshooting steps vary by model; for example, Victron’s MPPT troubleshooting documentation applies to the covered Victron equipment, not every RV solar controller.
This article does not cover solar array sizing or system redesign. If the controller manual does not explain the observed state, use a solar or RV electrical technician.
Lithium Batteries: Verify Compatibility and BMS Conditions
A lithium iron phosphate (LiFePO4) battery may not behave like the lead-acid or AGM battery originally installed in an RV. Do not assume an existing converter, charger, solar controller, or alternator path is appropriate for a lithium retrofit.
Check the following against both the battery and charger documentation:
- Whether the converter or charger supports the installed battery chemistry and charge profile.
- Whether the battery management system (BMS) has shut charging down and what recovery method the battery maker specifies.
- Whether low-temperature charge protection is preventing charging in current conditions.
- Whether the existing system permits the installed battery combination.
Do not treat lithium charging behavior, BMS recovery, or cold-weather limits as universal. Follow the battery manufacturer’s instructions for that model.
Is It the Battery or the Charger?
A voltage reading can show whether a charging source appears to reach the battery. It cannot prove the battery has useful capacity.
Use this decision guide:
- Charging-source reading changes, but the battery soon goes flat: Battery health, a connection problem, or an ongoing DC load needs investigation.
- No change at the battery with one source active, but another source does charge it: Focus on the failed source path, such as shore power/converter, towing, or solar.
- No source changes the battery reading and connections appear normal: The battery or a shared connection/protection issue may need professional testing.
- Battery is swollen, hot, leaking, or physically damaged: Stop using it and seek qualified battery or RV service.
Age and history matter, but neither proves failure. A definitive capacity or load test should follow the battery manufacturer’s procedure or be performed by a qualified technician or battery retailer.
Repair or Replace: Use Evidence Before Buying Parts

Photo by Airam Dato-on on Pexels
Replace a part only after the charge-path checks point to it.
| Finding | Purchase decision supported | What to verify first |
|---|---|---|
| Identified open fuse or protective device | Replace only that device if the manual specifies it and the underlying cause is addressed. | Exact specified rating and circuit purpose. |
| Loose or corroded visible connection | Service the connection according to manufacturer guidance before buying major parts. | Cable condition, terminal condition, and correct reconnection method. |
| Converter documentation and testing indicate failure | Consider a converter replacement. | Converter versus inverter/charger type, battery chemistry support, AC input configuration, output capability, dimensions, mounting, and listed fit. |
| Battery fails a proper health test or has clear physical failure signs | Consider battery replacement. | Battery chemistry, physical size, terminal layout, hold-down fit, charging compatibility, and manufacturer requirements. |
The model number is commonly found on the converter, charger, battery label, or equipment documentation. Use that exact identifier when comparing parts. Costs vary with RV layout, battery chemistry, accessibility, labor, related wiring work, and whether diagnostic time is included; this guide does not provide unsupported price averages.
When to Stop and Call a Qualified Technician
Stop owner-level diagnosis and seek qualified help for:
- Suspected live 120V AC work.
- A damaged, hot, discolored, or burnt-smelling shore cord, plug, inlet, or pedestal.
- Repeatedly tripping breakers or repeatedly opening fuses.
- Hot, swollen, leaking, or shorted batteries.
- A step that requires opening an AC panel, converter enclosure, or model-specific electrical equipment.
- Any suspected propane or carbon-monoxide issue.
A qualified electrician or RV technician should make AC repair decisions. Bring your notes: which source was active, battery-terminal readings, switch positions, and any visible damage.
Preventive Habits That Help Catch Charging Problems Early
Use the battery manufacturer’s storage-charging instructions, keep terminals and visible cable ends in good condition, and confirm charging behavior after a battery replacement or hookup mistake. A periodic battery-terminal reading with the normal charging source active can reveal a change before a trip.
Before buying a converter or battery, confirm what your meter reading actually proves. Recheck it with the charging source active and then after the battery has rested, then use the repair-or-replace checklist only after the charge path has been narrowed.
Frequently Asked Questions
Quick answers to the questions RV owners usually ask after working through this guide.
01 If the battery disconnect is off, will the RV still have 12V power?
It depends on how the RV is wired. Some arrangements let converter-supplied 12V loads run while the battery is isolated from the charging path, and others behave differently. What matters for this diagnosis is whether the disconnect is separating the battery from the converter’s output, so confirm the switch function in the RV owner’s manual.
02 How long should I wait before reading resting voltage?
Use the battery manufacturer’s instructions. A reading taken immediately after charging may be influenced by surface charge, so it should not be treated as a settled resting-voltage result.
03 Can a converter be working if the battery still will not charge?
Yes. The converter may be powering 12V loads while a disconnect switch, protective device, cable connection, ground path, or battery problem prevents charging at the battery. Measure at the battery terminals rather than relying only on interior lights.
04 Why did charging stop after I replaced the battery?
Check for a battery disconnect position, loose connection, or a model-specific reverse-polarity protective fuse if there was a hookup error. Do not guess at fuse ratings; use the converter documentation.
05 Why is my lithium battery not charging on my existing converter?
The converter’s charge profile may not be suitable, or the battery’s BMS or low-temperature protection may be preventing charging. Verify the combination with both manufacturers’ documentation.
06 How do I tell a slow charge from no charge at all?
Compare the battery-terminal reading with the charging source active against a later reading after the source is removed and surface charge has dissipated. If the battery sits near its pre-charge level while the RV’s 12V loads are running, or it only ever climbs slightly on shore power, the charger may be supplying those loads without meaningfully charging the battery. Note how long the source stayed connected and whether heavy loads such as a furnace were running, because that context changes what the readings mean.
07 Will my truck charge the trailer battery while towing?
Some trucks can provide trailer charging through the 7-pin auxiliary circuit, but wiring, fuse protection, relay behavior, and ignition requirements vary. Check the tow vehicle manual and compare the trailer battery reading with the engine running and off.
08 How do I know whether the battery is dead instead of discharged?
A battery that repeatedly loses charge after a confirmed charging source may have a health or capacity problem, but voltage alone is not conclusive. A manufacturer-approved capacity test or professional load test is the better confirmation.
09 Is it safe to leave an RV plugged into shore power all the time?
That depends on the battery type, converter or charger profile, battery condition, and manufacturer instructions. Follow the battery and charger guidance for long-term storage, and periodically inspect connections and charging behavior.
10 What should I record before I call a technician?
Write down which charging source was active (shore power, generator, engine running, or solar), the battery-terminal readings with the source on and after it was removed and the battery rested, the battery disconnect switch position, the converter or charger model number, and any heat, discoloration, smell, or damage you observed. Those notes let a technician test at the right point in the path instead of repeating the checks you already completed.
This guide is educational. Stop and use a qualified RV technician when a procedure involves unsafe electrical, propane, structural or pressurized-system work beyond your experience.