If your RV slide out is not working, start with what happens when you press the switch.
A slide that does nothing has a different problem from one that clicks, moves slowly, stops halfway, or travels crooked. The symptom usually tells you whether the fault is electrical, mechanical, or system-specific.
| Symptom | Most likely areas |
|---|---|
| Nothing happens | Battery voltage, fuse/breaker, interlock, switch, wiring |
| Clicks but does not move | Low voltage, relay, motor, mechanical bind |
| Motor runs but room does not move | Gearbox, coupler, rack, cable, mechanical failure |
| Moves slowly or stops halfway | Low voltage, overload, binding, weak motor |
| One side moves more than the other | Sync issue, dual-motor fault, track/cable problem |
| Stuck out | Power fault, control fault, mechanical jam, manual override needed |
The first rule is simple: do not keep holding the switch if the room is not moving normally.
Safety first
Slide-out rooms are heavy and can cause serious injury or structural damage if forced.
Keep people, pets, clothing, furniture, and tools clear of the slide path.
If the slide is crooked, grinding, binding, or partly detached, stop operating it and use the manufacturer’s procedure or a qualified RV technician.
Do not improvise a manual override without confirming which slide system your RV uses.
Step 1: Identify the slide system
Before touching components, identify the mechanism.
Common systems include:
- Lippert Schwintek / In-Wall
- Rack-and-pinion
- Through-frame
- Cable-driven
- Hydraulic slide systems
- Power Gear electric systems
The troubleshooting order starts similarly, but reset, synchronization, and manual-override procedures can differ dramatically.
Use the RV manual or slide-system label to identify the exact mechanism.
Step 2: Check the obvious interlocks
Some RVs prevent slide operation unless certain conditions are met.
Check:
- Parking brake
- Ignition position
- Transmission in Park
- Slide lock switch
- Travel locks removed
- Interior and exterior path clear
- Seat backs or furniture not blocking movement
If the slide is completely silent, confirm these before opening electrical panels.
Step 3: Check battery voltage under load
Low 12-volt voltage is one of the most common reasons an RV slide stops, moves slowly, or stalls.
Slide motors can draw substantial current.
A battery may still run lights while voltage collapses under the heavier slide load.
If possible, connect to shore power or start the motorhome engine according to the RV manufacturer’s instructions, then try the slide again.
Measure battery voltage while someone presses the slide switch.
If voltage drops sharply, investigate:
- Weak battery
- Poor battery connection
- Corroded ground
- Charging-system problem
- High-resistance cable connection
Do not replace the slide motor until the DC supply is proven healthy.
Step 4: Check the fuse or breaker
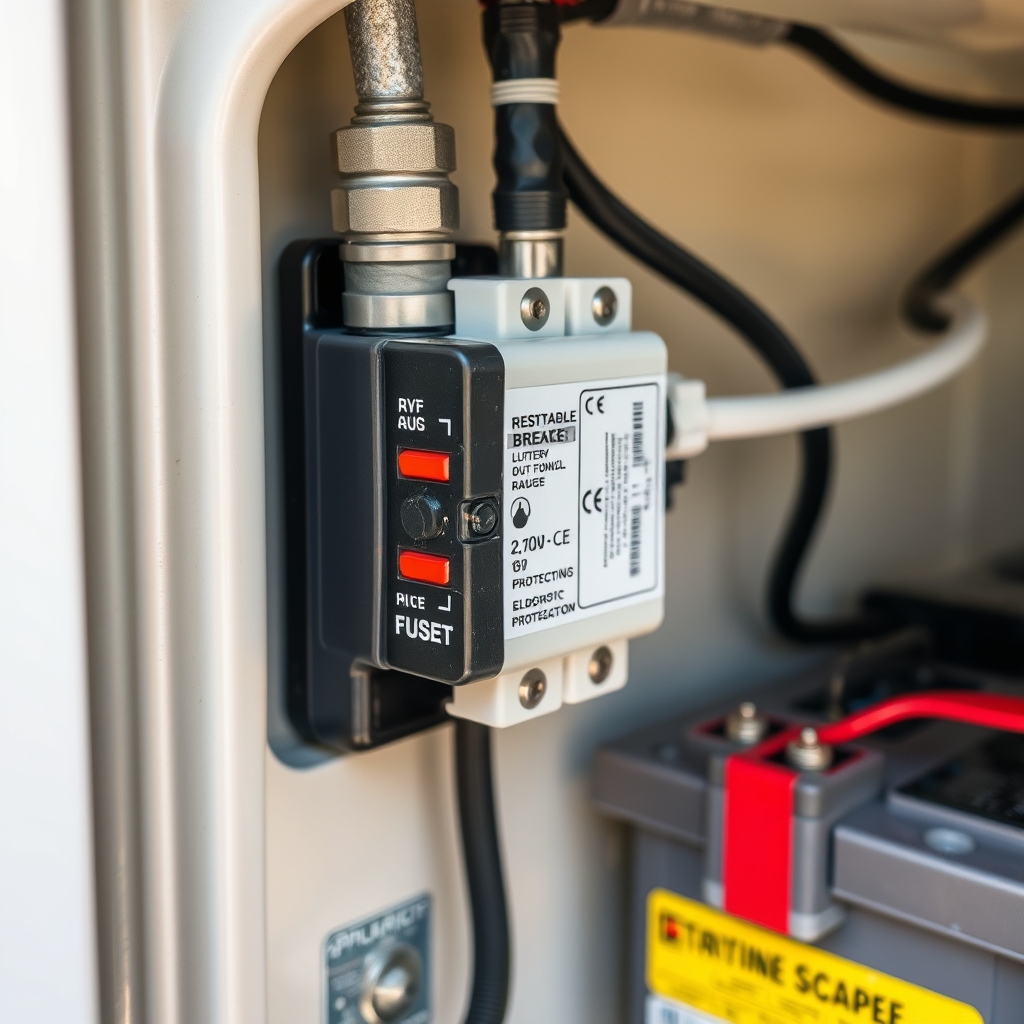
If the slide does nothing or stopped suddenly, inspect the slide circuit protection.
Depending on the RV, this may be:
- Blade fuse
- Slow-blow fuse
- Auto-reset circuit breaker
- Manual-reset breaker
- Fuse on the control module
A repeatedly tripping breaker usually means the system is drawing excessive current.
That can come from low voltage, binding, damaged gears, a failing motor, or a wiring fault.
Do not keep resetting protection without finding the cause.
Step 5: Listen to what the system does
The sound is useful.
Completely silent
Focus on:
- Battery voltage
- Fuse/breaker
- Safety interlock
- Wall switch
- Relay/control module
- Wiring
Click but no motor sound
A relay may be operating without enough voltage reaching the motor, or the motor may be stalled or failed.
Motor runs but room does not move
That points more toward a mechanical connection problem:
- Stripped gear
- Broken coupler
- Rack failure
- Cable problem
- Gearbox failure
Stop cycling the switch if you hear grinding or repeated gear noise.
Step 6: If the slide moves slowly or stops halfway
A slow slide often indicates voltage drop or increasing mechanical resistance.
Check the electrical supply first.
If voltage remains healthy, inspect for:
- Obstruction
- Dirty or damaged track
- Seal binding
- Rack or gear damage
- Cable tension problems
- Motor overheating
If the slide moves a little and then stops, wait for any thermal protection to reset before testing again.
Repeatedly forcing the switch can overheat the motor.
Step 7: If one side moves more than the other
Stop operating the slide if it begins to rack or twist.
A crooked slide can damage:
- Seals
- Tracks
- Gears
- Wall openings
- Slide structure
On dual-motor systems such as Schwintek, one side can get out of sync or one motor may stop contributing.
Some systems have a manufacturer-approved synchronization procedure, but do not apply a generic “reset” from another slide design.
Use the procedure for the exact controller and slide system.
Step 8: Check the controller and fault codes
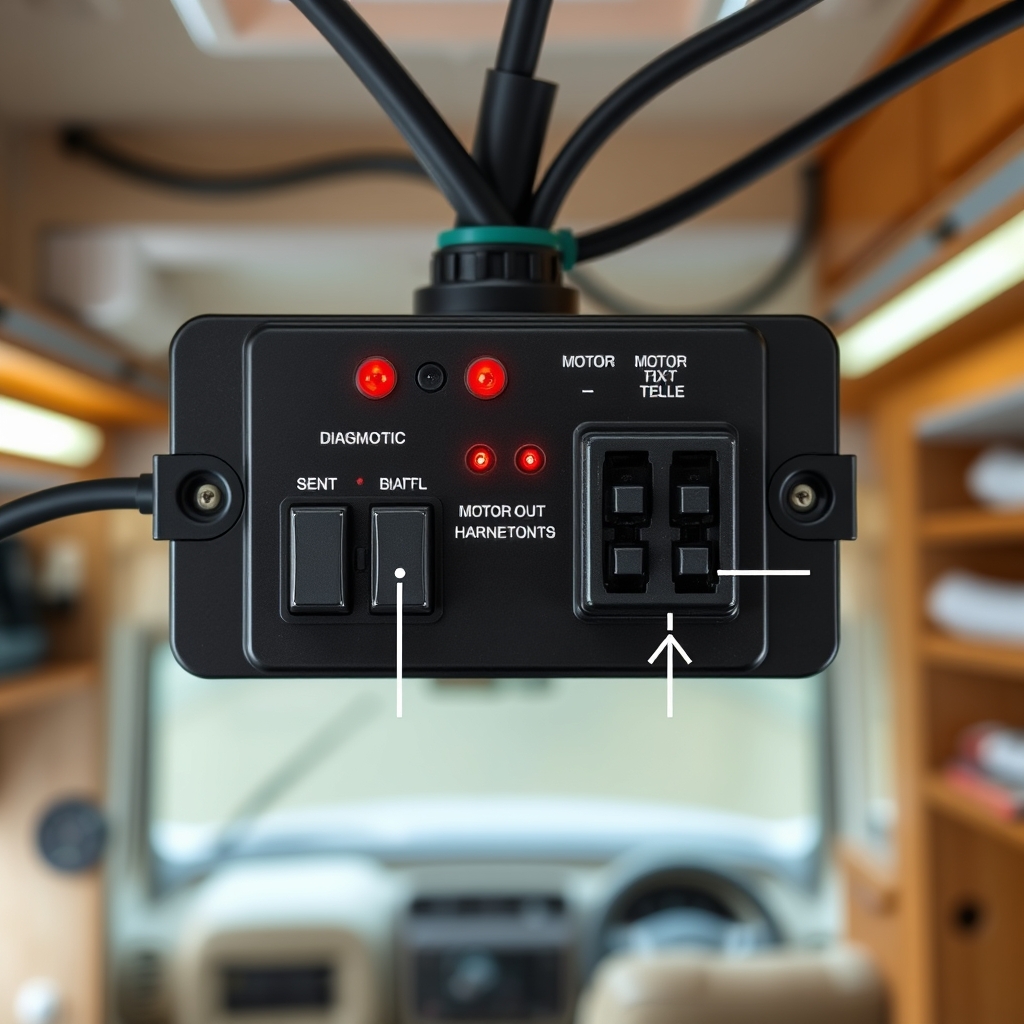
Many modern slide systems use a control module with diagnostic LEDs or fault codes.
The controller may indicate:
- Motor fault
- Excess current
- Low voltage
- Synchronization problem
- Wiring fault
Record the code before resetting anything.
A fault code should narrow the diagnosis, not automatically determine which component to replace.
Step 9: Inspect accessible wiring and grounds
If voltage is healthy at the battery but the slide is intermittent, inspect accessible electrical connections.
Look for:
- Loose terminals
- Corrosion
- Burned connectors
- Damaged harnesses
- Poor grounds
- Water intrusion near the controller
A high-resistance connection can allow the system to click or start moving but fail under load.
Step 10: What if the slide is stuck out?
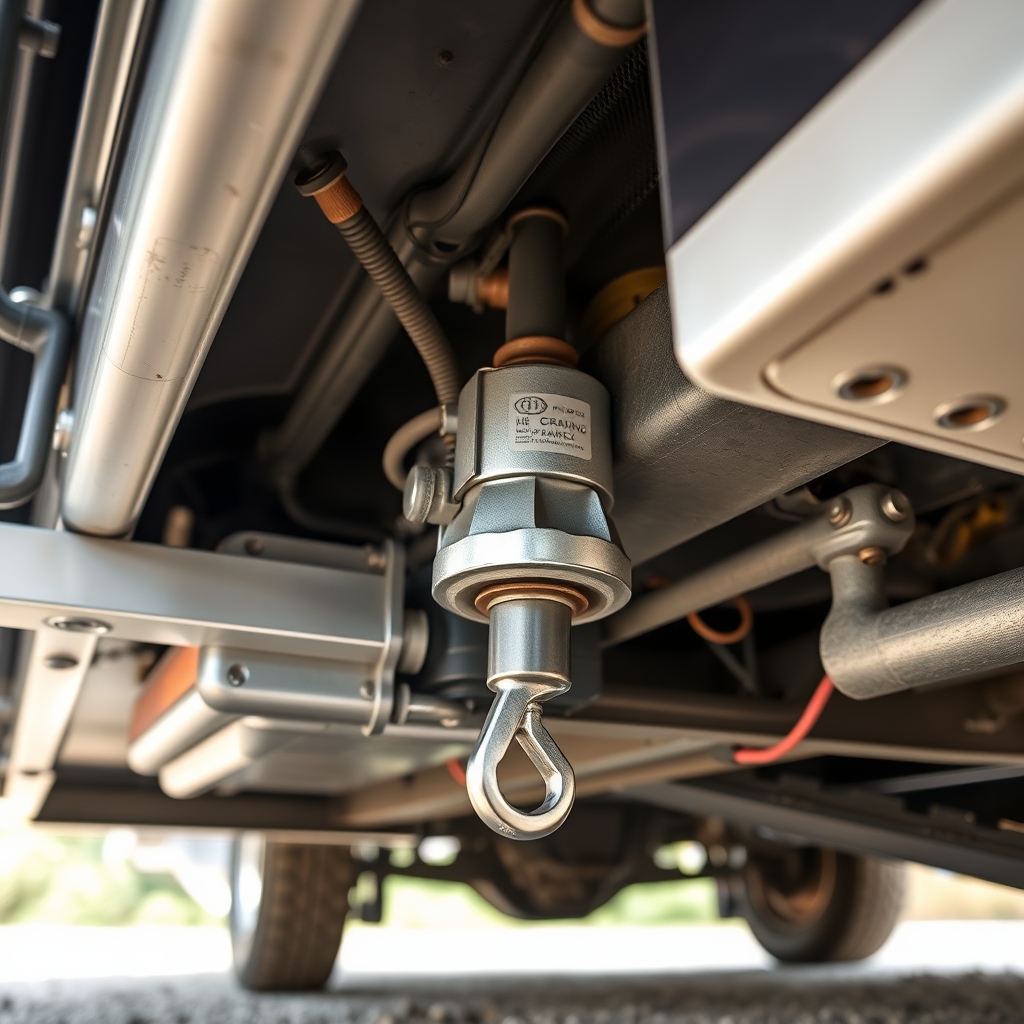
If the room will not retract and you need to travel, do not force it.
Every slide system has a specific emergency procedure, but the method varies.
Depending on the design, the manual override may involve:
- Cranking a gearbox
- Releasing or disengaging a motor
- Using a hydraulic override
- Operating the controller manually
Use the exact manufacturer procedure.
If you manually retract the room, it may also need to be mechanically secured before travel.
A slide that is not locked or retained can move while driving.
When should you call a technician?
Stop DIY troubleshooting if:
- The room is crooked
- The structure is binding
- You hear grinding or repeated gear skipping
- A cable is frayed or loose
- A motor or gearbox mount is damaged
- Hydraulic fluid is leaking
- The slide will not stay retracted
- You cannot identify the correct manual-override procedure
Electrical checks are one thing; forcing a heavy slide room can turn a small failure into an expensive structural repair.
Troubleshooting order
Use this sequence:
- Clear the slide path.
- Confirm travel locks and interlocks.
- Identify the slide system.
- Check battery voltage under load.
- Check fuse or breaker.
- Listen for relay and motor activity.
- If motor runs, inspect the mechanical drive.
- If movement is slow, check voltage and binding.
- If movement is uneven, stop and check synchronization/system faults.
- Read controller fault codes.
- Use the manufacturer’s manual override only if needed.
Frequently asked questions
Quick answers to the questions RV owners usually ask after working through this guide.
01 Why does my RV slide out do nothing when I press the switch?
Start with battery voltage, the slide fuse/breaker, safety interlocks, wall switch, and wiring. A completely silent slide is usually an electrical or interlock problem.
02 Why does the slide click but not move?
A relay may be operating, but the motor may not be receiving enough voltage or may be stalled. Check voltage under load and the motor circuit.
03 Why does my slide move slowly?
Low battery voltage is a common cause, but binding, poor connections, a weak motor, or mechanical resistance can also slow the room.
04 What if one side of the slide moves but the other does not?
Stop operating it. A dual-motor or synchronization problem can cause the room to rack and damage the tracks or seals.
05 Can I manually push an RV slide in?
Only if the manufacturer’s override procedure allows it. Some systems require motors or brakes to be disengaged first, and the room may need to be secured afterward.
Bottom line
Diagnose an RV slide out by the symptom.
No response points toward power, fuses, interlocks, or controls. Clicking with no movement points toward voltage or the motor circuit. A running motor with no room movement points toward the drive mechanism. Uneven movement points toward synchronization or mechanical problems.
Start with voltage and circuit protection before replacing motors, and never force a slide that is moving crooked or binding.
This guide is educational. Stop and use a qualified RV technician when a procedure involves unsafe electrical, propane, structural or pressurized-system work beyond your experience.